
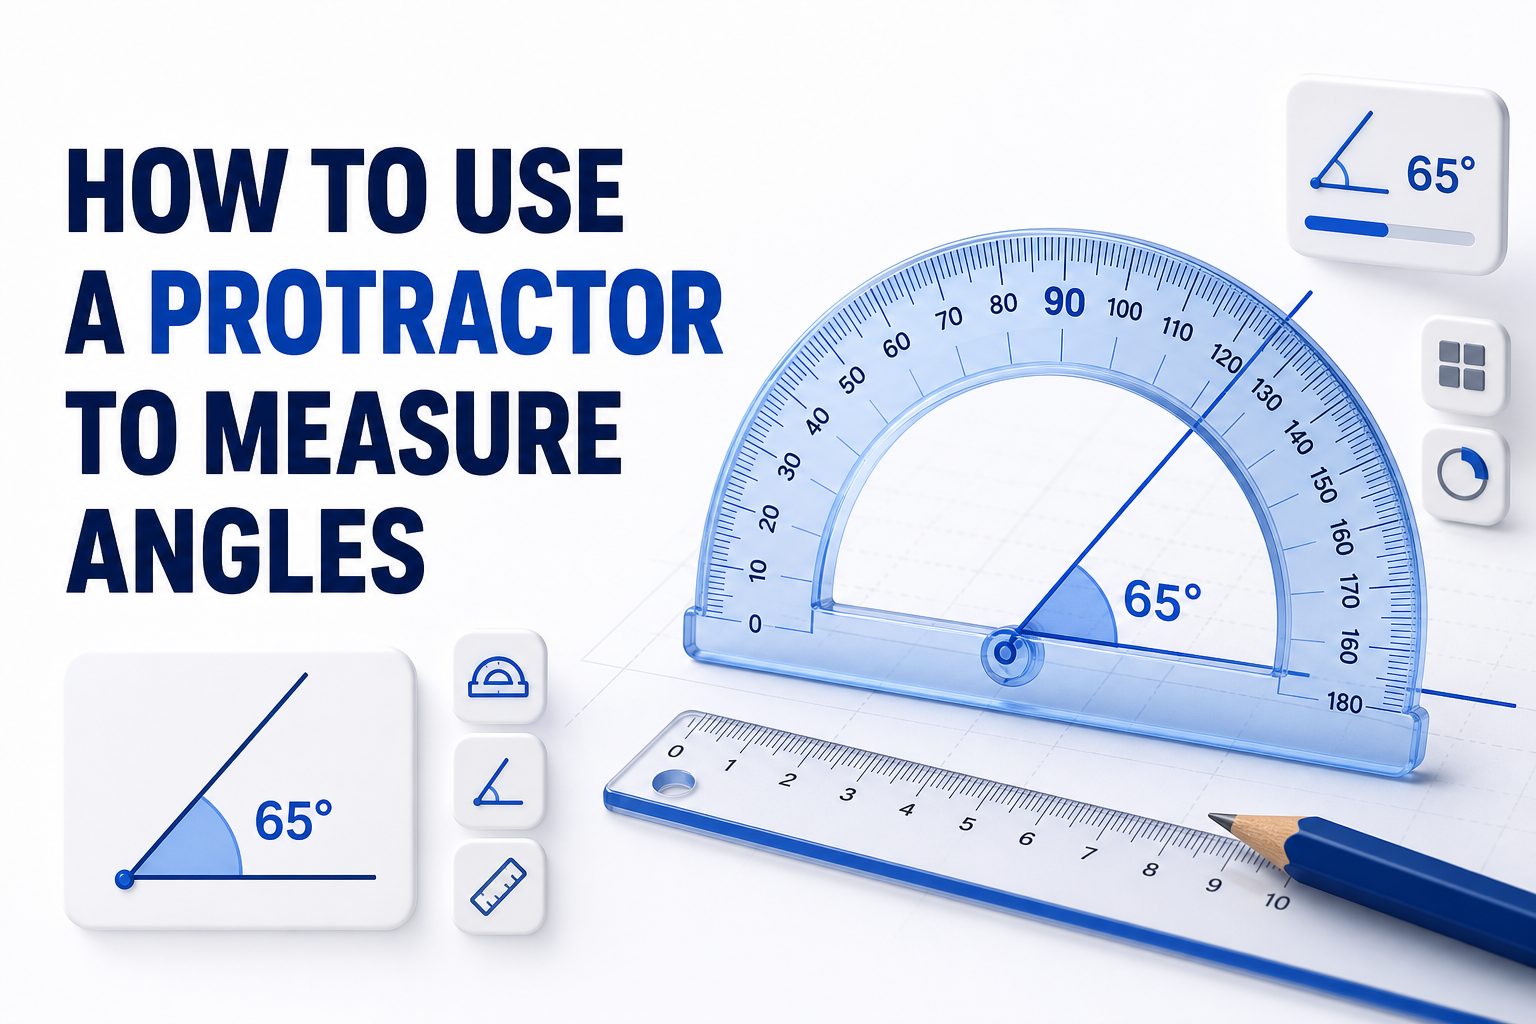
Learning how to use a protractor to measure angles is a practical skill for students, teachers, designers, carpenters, and anyone working with shapes. A protractor helps turn an angle into a clear number, making geometry and layout tasks easier.
An angle can look simple on paper, but small reading errors often lead to wrong answers. With the right setup, careful alignment, and a steady reading habit, you can measure most angles accurately without confusion or repeated checking.
This guide explains the process in a clear, modern way. You will learn the parts of a protractor, how to place it correctly, how to read both scales, and how to avoid the mistakes that cause inaccurate angle measurements.
What a Protractor Does
A protractor is a measuring tool used to find the size of an angle in degrees. Most classroom protractors are semicircular and show numbers from 0 to 180, while full-circle versions measure up to 360 degrees.
The tool works by matching one side of an angle with the zero line. The other side of the angle points toward a number on the curved scale, and that number gives the angle measurement in degrees.
Protractors are used in geometry, technical drawing, construction planning, craft design, and map reading. They are simple tools, but accurate results depend on knowing where to place the center point and which number scale to read.
Main Parts of a Protractor
A standard protractor has a center point, a baseline, and one or two curved number scales. The center point is usually a small mark or hole near the flat edge, and it sits directly on the angle’s vertex.
The baseline is the straight edge that runs through the center point. This line is placed along one ray of the angle, giving you a starting position for reading the degree scale correctly.
Most protractors have two number scales running in opposite directions. One scale starts at 0 on the left, while the other starts at 0 on the right. Choosing the correct scale depends on where the angle opens.
Quick Protractor Checklist
- Place the center point directly on the vertex of the angle.
- Line up one side of the angle with the baseline or zero-degree line.
- Check which direction the angle opens before reading the scale.
- Read the number where the second side of the angle crosses the curved scale.
- Estimate carefully if the line falls between two degree marks.
- Keep the protractor flat so the scale does not shift while reading.
Preparing the Angle Before Measuring
Before measuring, make sure the angle is clearly drawn. The two rays should meet at a visible vertex, and each side should be long enough to reach the curved scale of the protractor.
If one side of the angle is too short, extend it lightly with a ruler. Extending a ray does not change the angle size because the opening between the two rays stays the same.
Use a sharp pencil and a clean surface whenever possible. Thick lines, smudges, and uneven paper can make it harder to line up the protractor and read the exact degree mark.
How to Place the Protractor
Start by placing the small center mark of the protractor directly over the angle’s vertex. This is the point where the two sides of the angle meet, and it controls the accuracy of the measurement.
Next, rotate the protractor until one side of the angle lies along the baseline. The side should point toward the zero mark on one of the scales, not toward a random number on the curve.
Hold the protractor steady with one hand while checking the second side of the angle. If the center point or baseline shifts, the reading can change, even when the angle itself looks almost aligned.
Reading the Correct Scale
Many beginners get the wrong answer because they read the wrong scale. A semicircular protractor usually has two rows of numbers, so the correct row is the one that starts at zero on the aligned side.
If the angle opens to the right, use the scale that begins at 0 on the right. If the angle opens to the left, use the scale that begins at 0 on the left.
The second ray of the angle crosses the curved edge at the degree measurement. Follow the ray outward until it reaches the number scale, then read the value on the correct row.
Step by Step Angle Measurement
First, locate the vertex of the angle and place the protractor’s center point exactly on it. A tiny shift at this point can make the final measurement less accurate, especially with small or narrow angles.
Second, align one ray with the baseline and the correct zero mark. Check that the ray stays straight under the protractor and does not sit slightly above or below the baseline.
Third, look at the second ray and find where it meets the curved scale. Read the number on the scale that began at zero from the aligned ray, then write the measurement using the degree symbol.
Example Measurement Process
Imagine an angle with one ray pointing straight to the right and the other ray slanting upward. Place the center point on the vertex and line the horizontal ray with the right-side zero mark.
Now follow the slanted ray until it reaches the curved number scale. If it crosses at 45 on the scale starting from the right, the angle measures 45 degrees.
This same method works for wider angles as well. If the second ray crosses at 120 on the correct scale, the angle is 120 degrees, even if another row nearby shows a different number.
Common Types of Angles
An acute angle measures more than 0 degrees and less than 90 degrees. These angles look narrow and are often seen in triangles, roof designs, folded paper, and many geometric drawings.
A right angle measures exactly 90 degrees. It forms a square corner, like the corner of a notebook, window frame, floor tile, or many classroom geometry diagrams.
An obtuse angle measures more than 90 degrees and less than 180 degrees. These angles open wider than a right angle but do not form a straight line.
Straight and Reflex Angles
A straight angle measures exactly 180 degrees and looks like a straight line. On a semicircular protractor, it runs from one side of the baseline to the other side across the full scale.
A reflex angle measures more than 180 degrees and less than 360 degrees. A standard semicircular protractor cannot measure the full reflex angle in one direct reading without an extra calculation.
To measure a reflex angle, first measure the smaller angle inside the shape. Then subtract that value from 360 degrees to find the larger reflex angle around the outside.
Using a Protractor in Geometry
In geometry class, protractors help students measure drawn angles, check triangle properties, and create accurate diagrams. The tool gives a visual connection between angle size and degree values, which helps with problem solving.
For triangles, measuring each angle can confirm that the three angle values add up to 180 degrees. If the total is far from 180, one of the measurements or drawings likely needs correction.
For quadrilaterals and polygons, a protractor can help check interior angles and compare shapes. Accurate angle measurement supports work with parallel lines, symmetry, rotations, and scale drawings.
Using a Protractor for Drawing Angles
A protractor is not only used for measuring existing angles. It can also help draw a new angle with a specific degree value, which is useful in math, design, and technical sketching.
Start by drawing a straight ray with a ruler. Place the center point of the protractor at the ray’s endpoint, then align the ray with the zero-degree line on the correct scale.
Find the desired number on the curved scale and make a small pencil mark. Remove the protractor, then use a ruler to draw a second ray from the vertex through that mark.
Tips for Better Accuracy
Use a clear protractor when working over pencil lines. Transparent plastic makes it easier to see the vertex, baseline, and angle rays without guessing where the marks sit under the tool.
Keep your eye directly above the scale when reading the number. Looking from the side can create parallax error, which makes the ray appear to touch a different degree mark.
Use a ruler to extend short rays before measuring. A longer ray reaches the curved scale more clearly and helps reduce guessing when the angle line stops before the numbers.
Helpful Internal Resources
For more practice with angle drawing, review an internal guide on geometry tools and classroom measurement. It can support learners who need extra examples before moving into harder geometry problems.
A related internal resource on measuring angles in shapes can also help connect protractor skills with triangles, quadrilaterals, polygons, and real-world diagrams used in school assignments.
These internal links should use keyword-based anchor text such as geometry tools guide or measuring angles in shapes when added to a website. Keep them natural and relevant to the reader’s next step.
Mistakes to Avoid
One common mistake is placing the flat edge of the protractor on the angle without matching the center point to the vertex. The center point controls the measurement, so it has to sit exactly on the corner.
Another mistake is reading the wrong number row. If the aligned ray starts at 0 on the right, read the scale that increases from the right, not the row that increases from the left.
A third mistake is measuring from a side that has not been extended far enough. When the second ray does not reach the curved scale, the reader may guess too quickly and record an inaccurate value.
Measuring Angles Larger Than 180 Degrees
A semicircular protractor measures up to 180 degrees, so larger angles need a different method. These larger angles are called reflex angles, and they represent the wider turn around the outside.
Measure the smaller angle between the two rays first. This is the angle that fits within the 180-degree protractor scale and can be read using the normal placement method.
After measuring the smaller angle, subtract that number from 360 degrees. For example, if the smaller angle is 110 degrees, the reflex angle is 250 degrees.
Measuring Angles Without a Perfect Drawing
Sometimes angles are printed faintly, copied poorly, or drawn with uneven lines. In those cases, the measuring process still works, but you may need to identify the intended rays before placing the protractor.
Use a ruler to lightly trace or extend the sides of the angle. Make sure both rays meet at a single vertex, because messy drawings can make the corner look wider than it really is.
If the angle comes from a photograph or screen image, results may be less exact. Camera tilt, paper warping, and screen scaling can affect the drawing, so treat the measurement as an estimate.
Protractor Skills for Students
Students often learn protractor skills during geometry units, but the skill also supports science, art, maps, and construction activities. Repeated practice helps students connect visual angle openings with degree measurements.
A helpful classroom routine is to estimate before measuring. For example, students can decide whether an angle is acute, right, or obtuse before placing the protractor and checking the exact value.
Students should also practice drawing angles from given measurements. Measuring and drawing together builds stronger spatial judgment and helps learners notice when a number does not match the angle’s appearance.
Real World Uses of Protractors
Protractors are useful beyond school assignments. Designers use angle measurement when sketching layouts, artists use it for perspective and symmetry, and makers use it when cutting materials to match a planned shape.
In woodworking and home projects, angle accuracy can affect how pieces fit together. A protractor can help mark simple angles, check corner layouts, or support planning before using more advanced measuring tools.
In navigation, mapping, and drafting, angles help describe direction and rotation. While digital tools are common today, the basic protractor remains useful for quick checks and hands-on learning.
Choosing the Right Protractor
A clear plastic semicircular protractor is usually enough for schoolwork and basic measuring. It is affordable, easy to carry, and works well for angles between 0 and 180 degrees.
A full-circle protractor is useful when measuring bearings, rotations, or angles that go beyond a straight line. It allows readings up to 360 degrees without needing the same subtraction method.
For technical work, choose a protractor with crisp markings, a visible center point, and a durable edge. Faded numbers, warped plastic, and thick printed scales can make accurate reading more difficult.
Practice Activity for Beginners
Draw five angles on paper: one acute, one right, one obtuse, one straight, and one reflex angle. Label each one only after measuring so the activity tests both recognition and accuracy.
Measure each angle twice. On the second attempt, reset the protractor completely instead of leaving it in place. If the two readings differ, check the center point, baseline, and number scale.
After measuring, compare your results with estimates. Over time, estimating first trains your eye to notice whether a measurement makes sense before you accept it as the final answer.
Simple Accuracy Routine
- Identify the angle type before measuring.
- Place the center point on the vertex.
- Match one ray with the zero line.
- Choose the scale that starts from that zero mark.
- Read where the second ray crosses the scale.
- Record the answer in degrees.
- Recheck if the value does not match the angle’s appearance.
Conclusion
A protractor gives a clear and reliable way to measure angles when it is placed and read correctly. The most important steps are centering the tool on the vertex, aligning one ray with zero, and choosing the correct number scale.
Once those habits become routine, angle measurement becomes much easier in schoolwork, drawing, design, and practical projects. With steady practice, how to use a protractor to measure angles becomes a simple skill that supports many geometry tasks.
FAQ
What is the center point on a protractor?
The center point is the small mark near the flat edge of the protractor. It is placed directly on the vertex of the angle, where the two rays meet, so the measurement starts from the correct position.
Why does a protractor have two number scales?
A protractor has two scales so angles can be measured from either direction. One scale starts at zero on the left, and the other starts at zero on the right, depending on where the angle opens.
How do I measure an obtuse angle?
Place the center point on the vertex and align one ray with the zero line. Since an obtuse angle is larger than 90 degrees, read the correct scale until the second ray crosses a value between 90 and 180.
Can I measure a reflex angle with a semicircular protractor?
Yes, but not directly in one reading. Measure the smaller angle between the rays first, then subtract that number from 360 degrees. The result gives the reflex angle measurement.
How can I avoid reading the wrong scale?
Start from the zero mark where the aligned ray sits. Follow that same scale as the numbers increase toward the second ray. If the answer looks too small or too large, check the angle type before recording it.
0 Comments